I have watched bits and pieces of the movie, Steel Magnolias repeatedly and though I have learned of many (perhaps fictional) traditions from this serving of homemade Southern culture, what has always charmed me is the concept of an old fashion backyard wedding. I can’t think of anything more darling and intimate for the guests – for the family hosting, it seems like an absolute horror show.
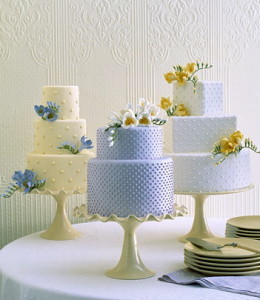
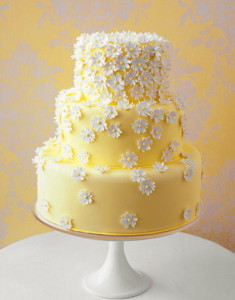
In my genteel dream version there would be a sweets table – of course, since this is my fantasy reception, that would boast cakes, pies and cookies all contributed by neighbors and friends. These blue ribbon beauties would be raised on pedestals of various heights and styles but unified in color. To keep with the reverie of it all, my devoted bridesmaids would have created the elevated serviceware weeks before at my crafty shower. As a parting gift, guests would be given one of the aforementioned cake stands with a small replica of the wedding cake to serve as a tasty memory. (Just like when Truvy goes home with a slice of cake to ensure sweet dreams!)
These cakes stands are so easy to assemble that every member of my imaginary bridal party constructed them flawlessly.
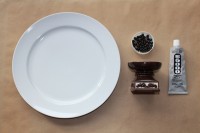
Materials required:
- candlestick or slender flat top bud vase (thrift stores – excellent & cheap resource)
- plate
- strand of plastic beads (long enough the encircle the candle stick top)
- clear drying, permanent bonding adhesive (e6000 is an solid choice)
- spray paint
- painter’s tape
- tooth pick
- rag or paper towel
- small, but sharp scissors
- nail polish remover
Optional:
- clear spray paint
- primer spray paint
- glue or mod podge
- fine glitter
- epoxy resin
Directions:
1) Test the candlestick and plate combination to ensure the base can support the weight
2) Thoroughly wash and dry candle stick and plate
3) Find the center of the plate and mark it (I tend to measure and mark based on the candle’s circumference for exact placement.)
4) With the plate upside down on the table, apply the adhesive to the top of the candlestick and gingerly place on the pre-marked plate’s center
5) With the strand of plastic beads close at hand, add a thin band of glue where the candlestick and plate meet
6) Carefully place the strand of beads in the band of glue. Right before the last bead is to be placed in the bed of glue, snip the string and gently pull out from the center of the beads. Place the final loose bead in the remaining space. (Gently move beads to space evenly.) The band of beads will serve as a decorative element yet conceals the seam of the plate & candle stick
7) Wipe all traces of glue w/ a little dab of nail polish remover
8) Secure the base to the plate w/ several pieces of painter’s tape
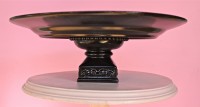
9) Once completely dry (according to appropriate drying time on glue package), remove tape and spray entire cake stand w/ several coats of the paint of your choosing. Depending on the plate & candlestick’s original color, a coat of primer may be required
10) Et Voila!
Additional flourish and flare:
11) With the stand in its upright position, apply a thin layer of white glue to the edge or interior of the plate. Liberally administer the fine glitter to the dedicated area
12) 8hrs later remove excess glitter and wipe away any stray specks of glitter (I like to use canned air for this step.)
13) Seal the glittered area with a coat of clear spray paint
14) Following the directions on the epoxy resin package (or see the apartmentjeanie post like sugar, epoxy resin makes everything better) prudently cover the glittered area with the mix
15) And 72 hours later, voila encore…
Now that I am reading these instructions, it really appears to be a complicated and time consuming project, but I vow that this is quick and easy, especially if you skip the sparkly segment. Considering the wow factor of these inexpensive cake plates, you’ll be saying, “I do” faster than a bridegroom at a shotgun wedding!
Serving up something special,
xxoo.





Can’t wait to give this a try!
Oh – thank you! Now I don’t have to wait to inherit my mother’s cake stand; I can make my own:-)